Running ChatGPT Locally Using Docker OpenWebUI
In the evolving world of artificial intelligence, having the ability to run models locally can provide you with greater control, privacy, and customization. This guide will walk you through setting up ChatGPT locally using Docker and OpenWebUI, in this demo we utilizing the Phi3.5 model also you can find other model in here Ollama Model Library I will also cover an optional setup for leveraging NVIDIA GPUs in WSL 2 on Ubuntu. Let’s dive in!
Prerequisites
Before you begin, ensure you have the following installed on your machine:
-
Docker: Make sure Docker is installed and running. You can download it from the official Docker website.
-
Docker Compose: While Docker usually comes with Docker Compose, verify it’s available by running
docker-compose --versionin your terminal. -
Git: You will need Git to clone the repository.
-
NVIDIA GPU (optional): If you plan to use GPU acceleration, ensure you have a compatible NVIDIA GPU and the necessary drivers installed.
-
WSL 2: For users on Windows, ensure you have WSL 2 enabled. Check Microsoft's official guide for installation instructions.
-
Sufficient Hardware: Depending on the model and usage, ensure your machine has enough CPU, RAM, and preferably a GPU for better performance.
Step-by-Step Guide
Step 1: Configure Docker Compose
Inside the cloned repository, you should find a docker-compose.yml file. This file defines the services, networks, and volumes for your application. Open it in a text editor and modify it if necessary.
Here’s a basic example of what the docker-compose.yml might look like for the Phi3.5 model:
version: '3.9'

services:

  webui:
    image: ghcr.io/open-webui/open-webui:main
    expose:
     - 8080/tcp
    ports:
     - 8080:8080/tcp
    environment:
      - OLLAMA_BASE_URL=http://ollama:11434
    volumes:
      - open-webui:/app/backend/data
    depends_on:
     - ollama

  ollama:
    image: ollama/ollama
    expose:
     - 11434/tcp
    ports:
     - 11434:11434/tcp
    healthcheck:
      test: ollama --version || exit 1
    command: serve
    volumes:
      - .ollama:/root/.ollama

volumes:
  ollama:
    external: true
  open-webui:
Step 3: Build and Run the Docker Container
In your terminal, navigate to the directory containing the docker-compose.yml file and run:
This command builds the Docker image and starts the container. If this is the first time you are running it, it may take some time to download the necessary images.
Step 4: Access OpenWebUI
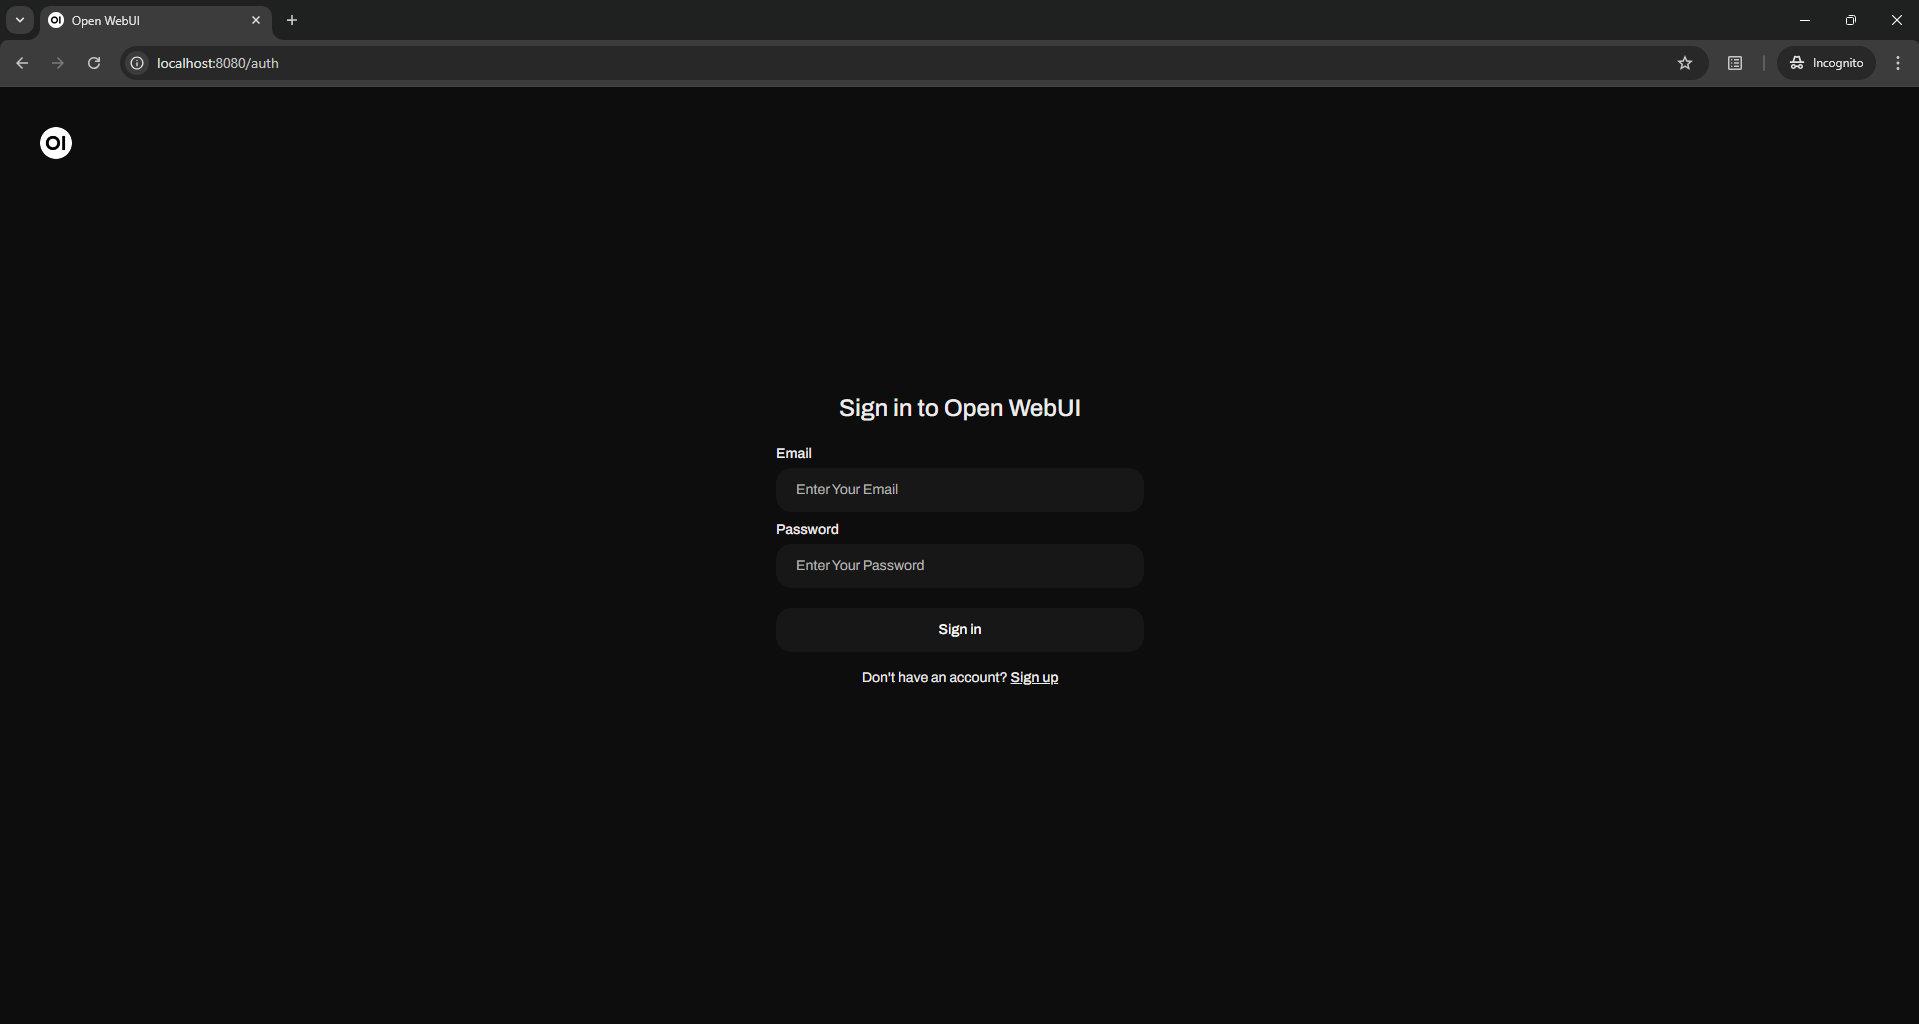
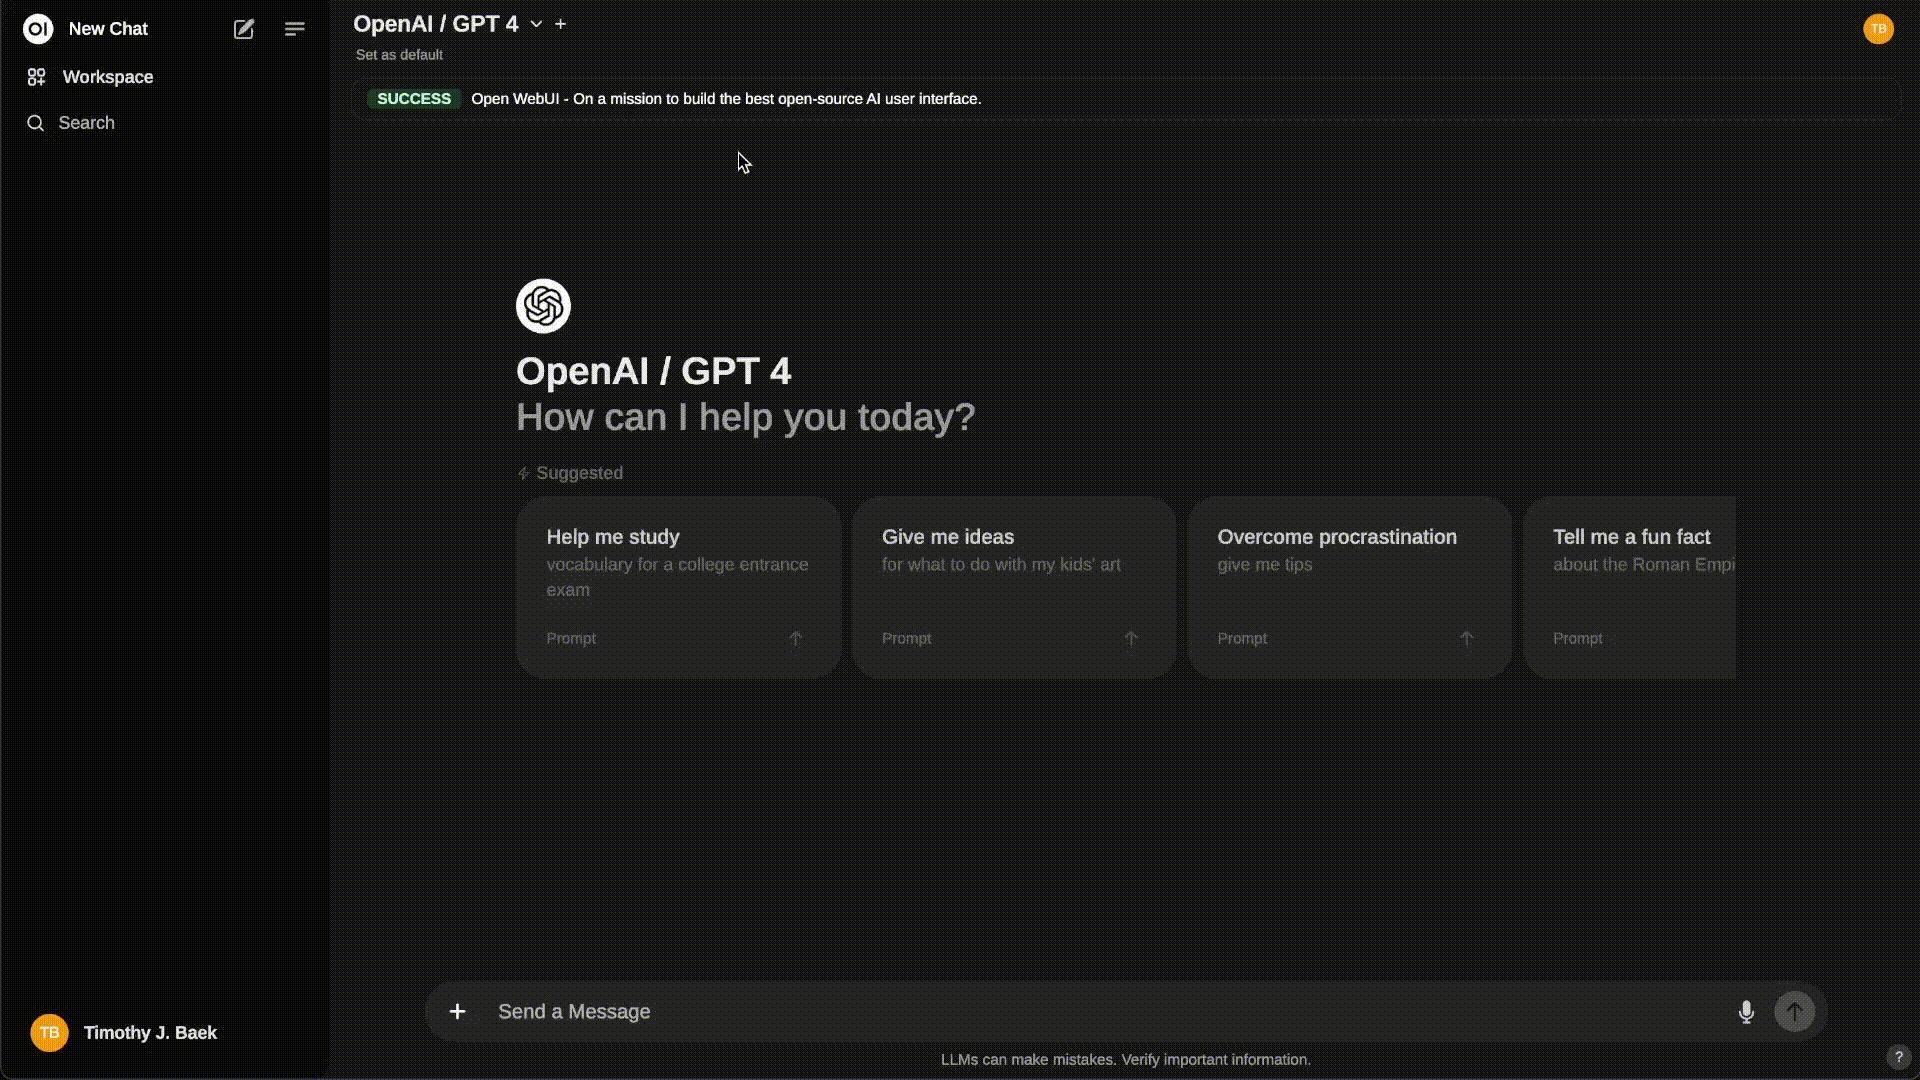
Once the container is running, you can access the OpenWebUI interface by navigating to http://localhost:8080 in your web browser. This interface allows you to interact with your ChatGPT model seamlessly.
Tip
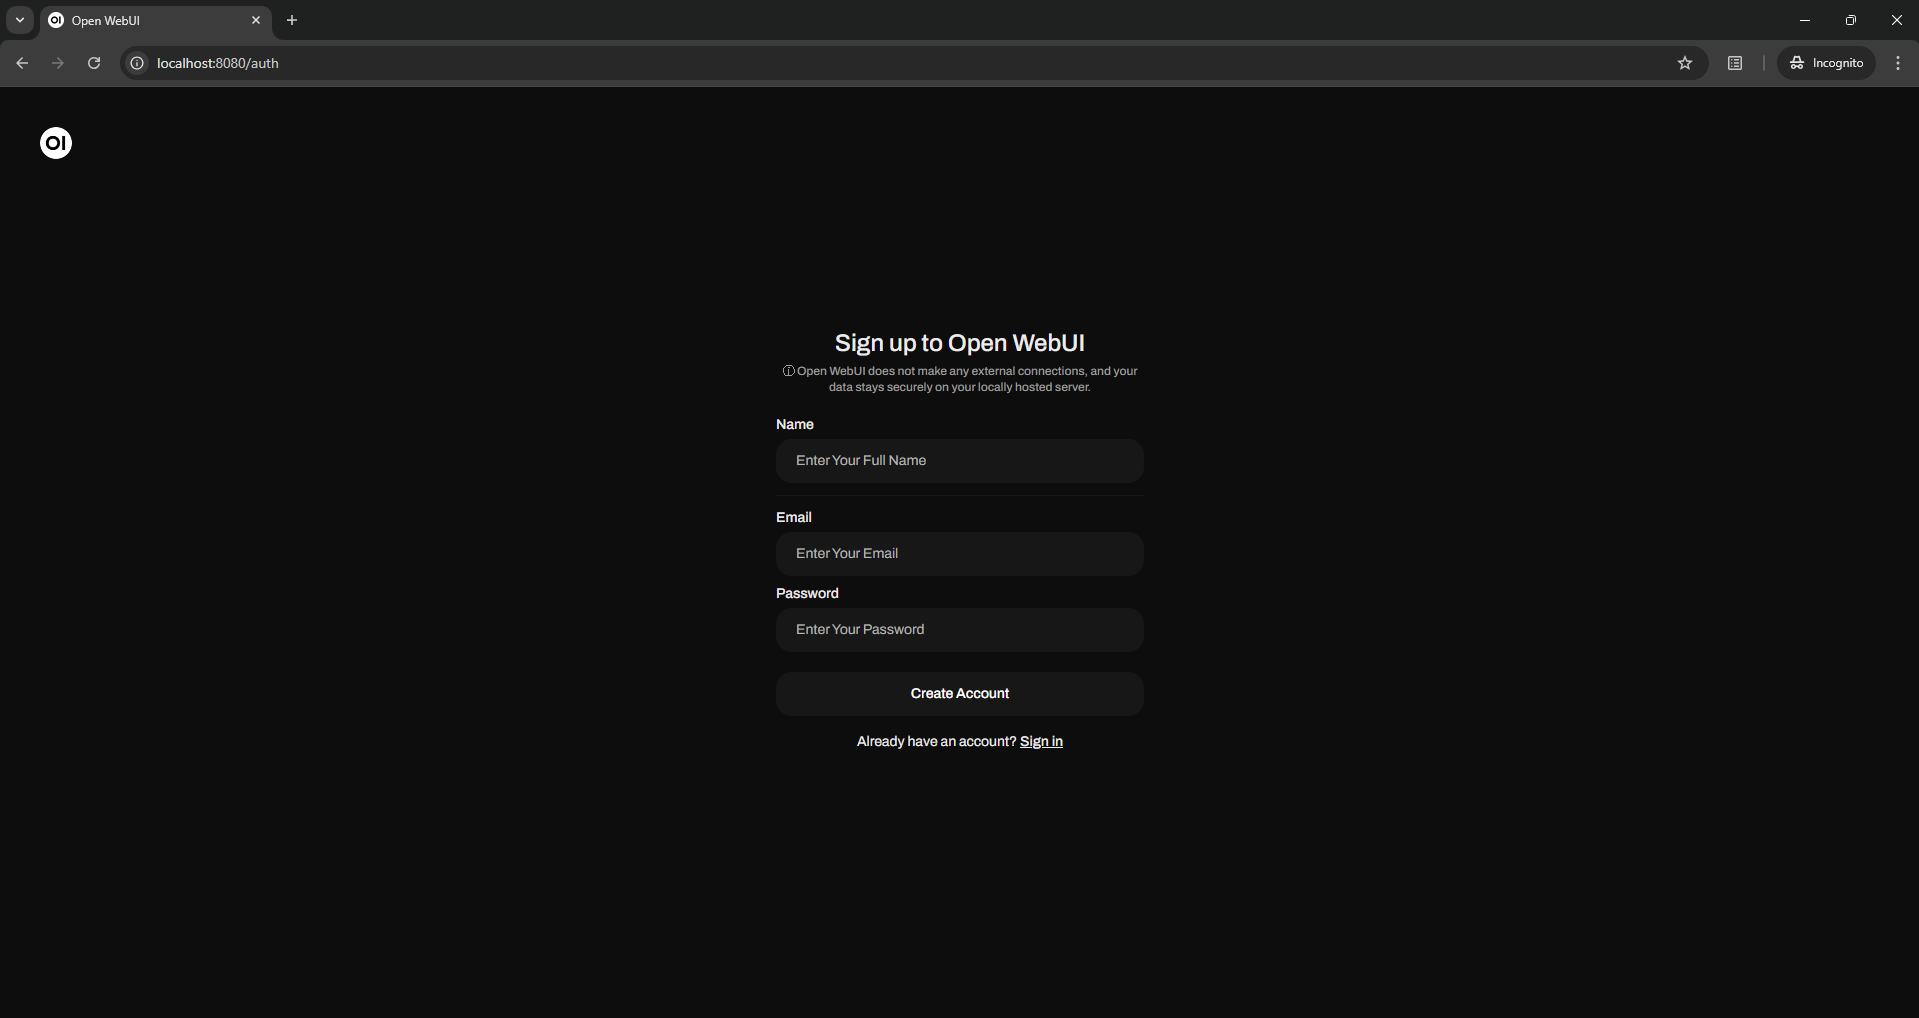 For the first time you need create a local user by clicking up sign up inside Open WebUI , I took 30 minutes to realize it LOL 😂
Step 5: Customizing the Setup
-
Model Parameters: You can customize various parameters related to the model’s behavior by adjusting environment variables in the
docker-compose.ymlfile. -
Persistent Data: Any data you want to persist, such as user interactions or model outputs, can be stored in the
open-webuidocker volume.
Step 6: Stopping the Docker Container
To stop the container, simply go back to your terminal and press Ctrl+C. If you want to remove the containers, use:
Bonus Content: How to Setting Up NVIDIA GPU support with windows WSL 2 and Docker on Ubuntu LTS
In this demo video (Bahasa): Menjalankan ChatGPT secara lokal menggunakan docker openwebui dengan model phi3.5
System Specification
- Processor : 12th Gen Intel(R) Core(TM) i5-12450H
- CPU cores : 12 @ 2496.008 MHz
- GPU : NVIDIA GeForce RTX 3050 Laptop GPU, compute capability 8.6
- AES-NI : ✔ Enabled
- VM-x/AMD-V : ✔ Enabled
- RAM : 7.6 GiB
- Swap : 2.0 GiB
- Disk : 2.0 TiB
- Distro : Ubuntu 24.04.1 LTS
- Kernel : 5.15.153.1-microsoft-standard-WSL2
- VM Type : WSL version: 2.2.4.0
- Operating system: Windows 11 - 64 Bit
- Docker Engine: Docker version 27.3.1, build ce12230 + Docker Compose version v2.29.2-desktop.2
If you have an NVIDIA GPU like me and want to leverage its power to enhance the performance of your ChatGPT model, follow these steps:
Step 1: Install WSL 2 and Ubuntu LTS
- Enable WSL: Open PowerShell as an administrator and run:
- Set WSL 2 as Default:
- Install Ubuntu LTS: You can find it in the Microsoft Store. Once installed, open it to complete the setup.
Step 2: Install NVIDIA Drivers
-
Download and Install NVIDIA Drivers: Ensure you have the latest NVIDIA drivers that support WSL. You can download them from the NVIDIA website.
-
Install CUDA Toolkit: Follow the instructions on the CUDA Toolkit Installation Guide to set it up within your WSL environment.
Step 3: Install Docker in WSL 2
- Install Docker: Follow these commands within your WSL terminal:
- Start Docker:
- Add your user to the Docker group (to avoid using
sudowith Docker):
After running this command, log out and log back into your WSL terminal.
Step 4: Install NVIDIA Container Toolkit
-
Set Up the NVIDIA Docker Toolkit: 1.1 Configure the production repository:
  curl -fsSL https://nvidia.github.io/libnvidia-container/gpgkey | sudo gpg --dearmor -o /usr/share/keyrings/nvidia-container-toolkit-keyring.gpg \
    && curl -s -L https://nvidia.github.io/libnvidia-container/stable/deb/nvidia-container-toolkit.list | \
      sed 's#deb https://#deb [signed-by=/usr/share/keyrings/nvidia-container-toolkit-keyring.gpg] https://#g' | \
      sudo tee /etc/apt/sources.list.d/nvidia-container-toolkit.list
1.2 Update the packages list from the repository and install Install the NVIDIA Container Toolkit packages
Follow the instructions from the NVIDIA Docker documentation to install the NVIDIA Container Toolkit, which allows Docker to use your NVIDIA GPU.
- Configure NVIDIA Docker Toolkit
- Restart your system.
Step 5: Configure Docker to Use the GPU
After installing NVIDIA Docker Toolkit and restart system, Modify your docker-compose.yml file to enable GPU support:
services:

  webui:
    image: ghcr.io/open-webui/open-webui:main
    expose:
     - 8080/tcp
    ports:
     - 8080:8080/tcp
    environment:
      - OLLAMA_BASE_URL=http://ollama:11434
    volumes:
      - open-webui:/app/backend/data
    depends_on:
     - ollama

  ollama:
    image: ollama/ollama
    expose:
     - 11434/tcp
    ports:
     - 11434:11434/tcp
    healthcheck:
      test: ollama --version || exit 1
    command: serve
    volumes:
      - .ollama:/root/.ollama
    #Enable GPU Support
    deploy:
      resources:
        reservations:
          devices:
            - driver: nvidia
              device_ids: ['all']
              capabilities: [gpu]

volumes:
  ollama:
    external: true
  open-webui:
Step 6: Build and Run the Docker Container with GPU Support
Now, you can build and run your container, and it will utilize your NVIDIA GPU 💪
Step 7: Access OpenWebUI
Access the OpenWebUI as described in the previous steps, and you should now have a performance boost from your NVIDIA GPU.
Benefits of Running ChatGPT Locally
- Privacy: Keeping your data local means it’s not shared with third-party servers.
- Control: You can modify and configure the model as needed.
- Performance: Utilizing a GPU can significantly enhance performance, especially for larger models.
Conclusion
Running ChatGPT locally using Docker OpenWebUI is a straightforward process that provides numerous benefits. With the optional setup for NVIDIA GPU support on WSL 2 and Ubuntu , you can take your local AI capabilities to the next level.
Feel free to dive into the configuration files and experiment with different settings to optimize your local environment 😁